Download How to install Coolpad Driver on Windows USB Driver (official) for Windows
Installing the Coolpad driver on a Windows system is a critical step for anyone using a Coolpad smartphone or tablet. Coolpad, known for its affordable and feature-rich devices, requires specific drivers to ensure that your Windows computer can recognize and communicate with the device correctly. These drivers are essential for tasks such as data transfer, device management, firmware updates, and development activities. This guide will walk you through the process of manually installing the Coolpad driver on your Windows computer, ensuring a seamless connection and optimal performance. By following these steps, you can overcome common connectivity issues and make the most out of your Coolpad device.
How to install Coolpad Driver official on Windows
The Coolpad Driver is compatible with the QGDP Tool, YGDP Tool, and the IMEI Tool and can be useful if you are trying to install firmware (ROM) on the device.
Step 1 : Download and extract the Coolpad driver package on the Computer (The link is above). If in case, you have already downloaded and extracted the driver package, then SKIP this step.

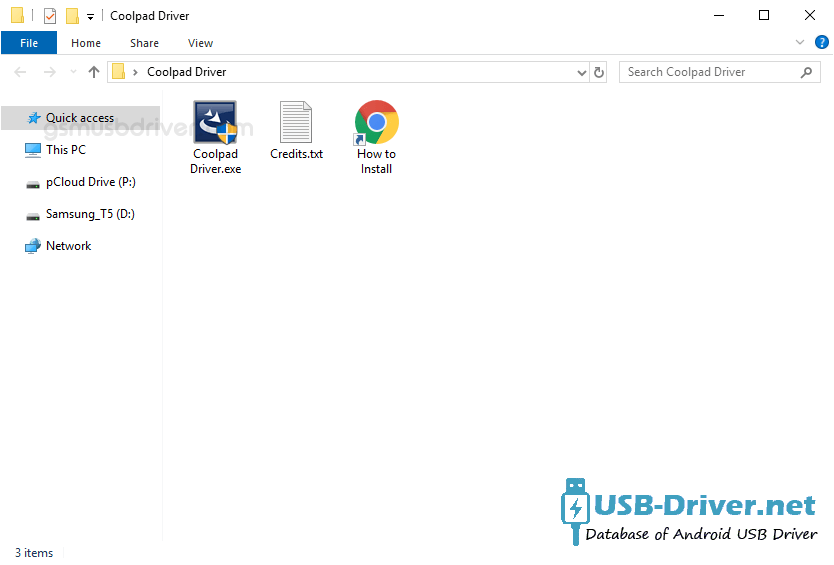
Step 2 : Once the Android driver package is extracted on the computer, you will be able to see the following files:
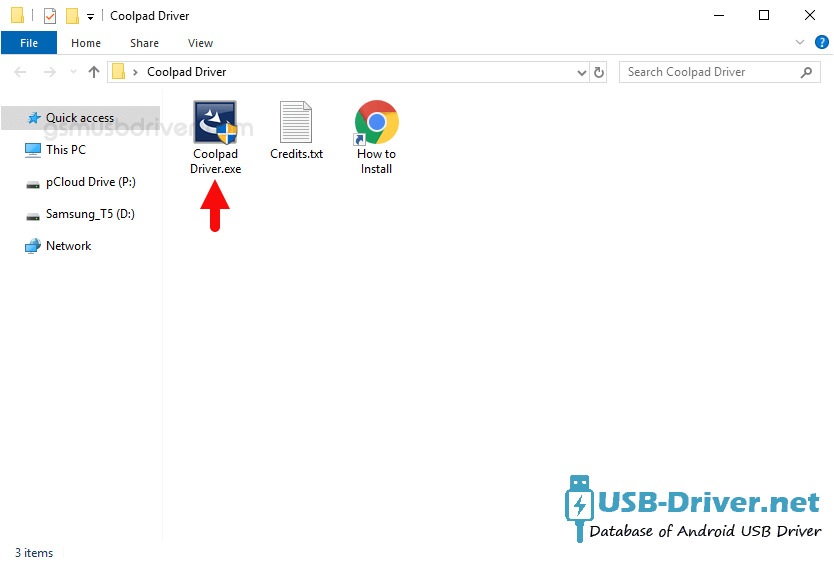
Step 3 : Open Coolpad Driver.exe to Launch the Setup:
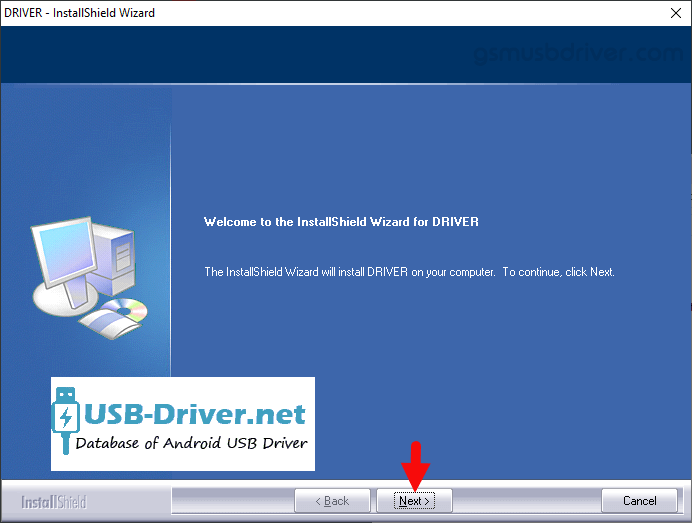
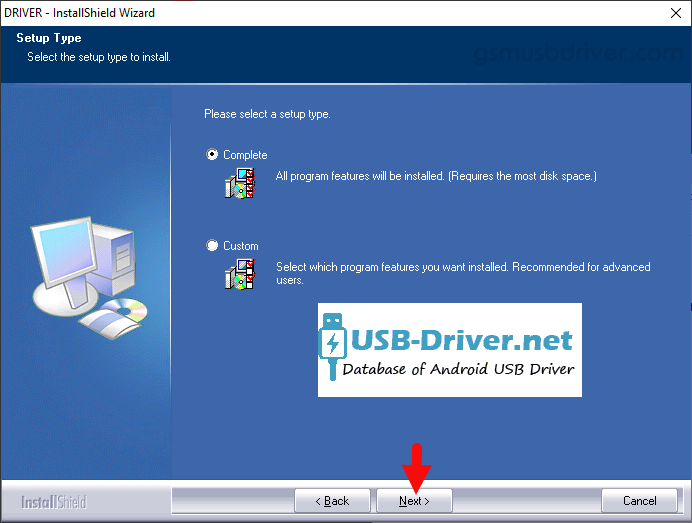
Step 4 : Click on the Next Button:
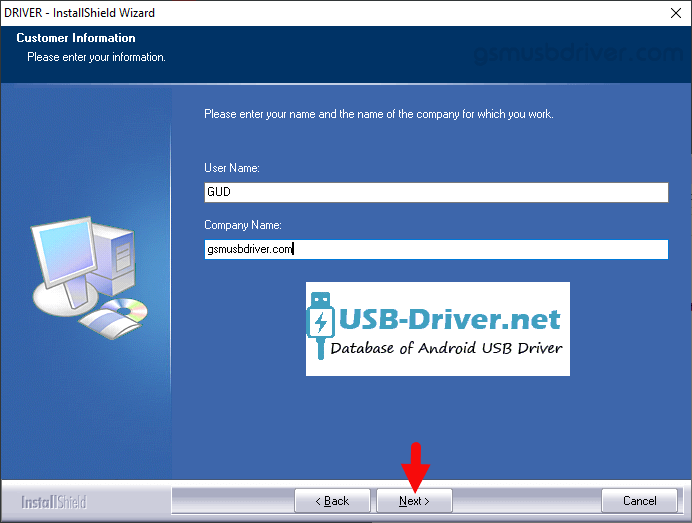
Step 5 : Click on the Next Button (Optional: You can Enter username and Company name):
Step 6 : Again, Click on the Next Button:
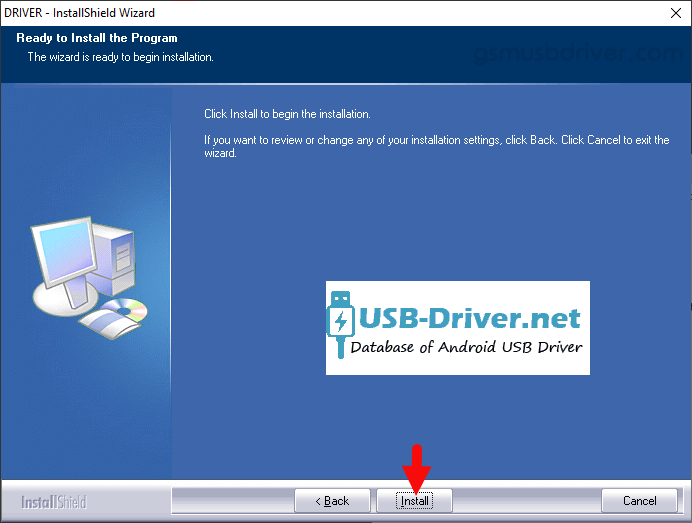
Step 7 : Click on the Install button to begin the installation:
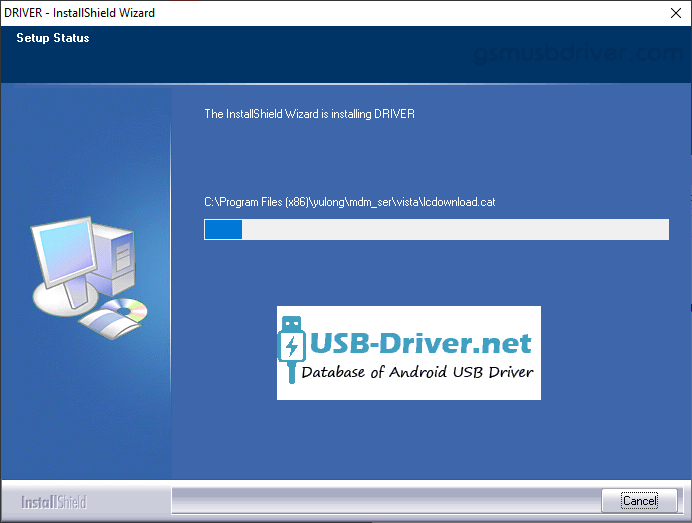
Step 8 : Android Drivers are now being installed on the computer:
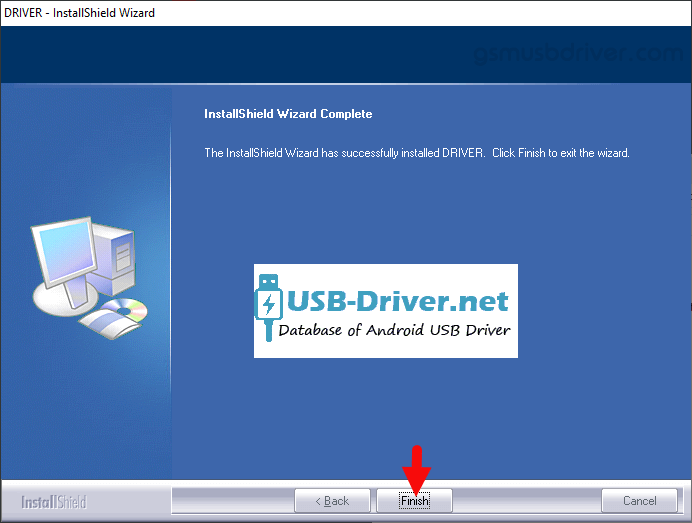
Step 9 : Once the installation process is completed, Click on the Finish button to exit the Setup.
Step 10 : Restart the Computer.
Step 11 : Once the Computer is restarted, you can easily connect your Coolpad to the computer without facing any issue.

